What's the big deal with annotating entities, you could do it in Excel or Word. You could also live life with your eyes closed, but that's not a good idea. In this quick article we'll take you through the basics of annotating entities.
Annotating With The Mouse
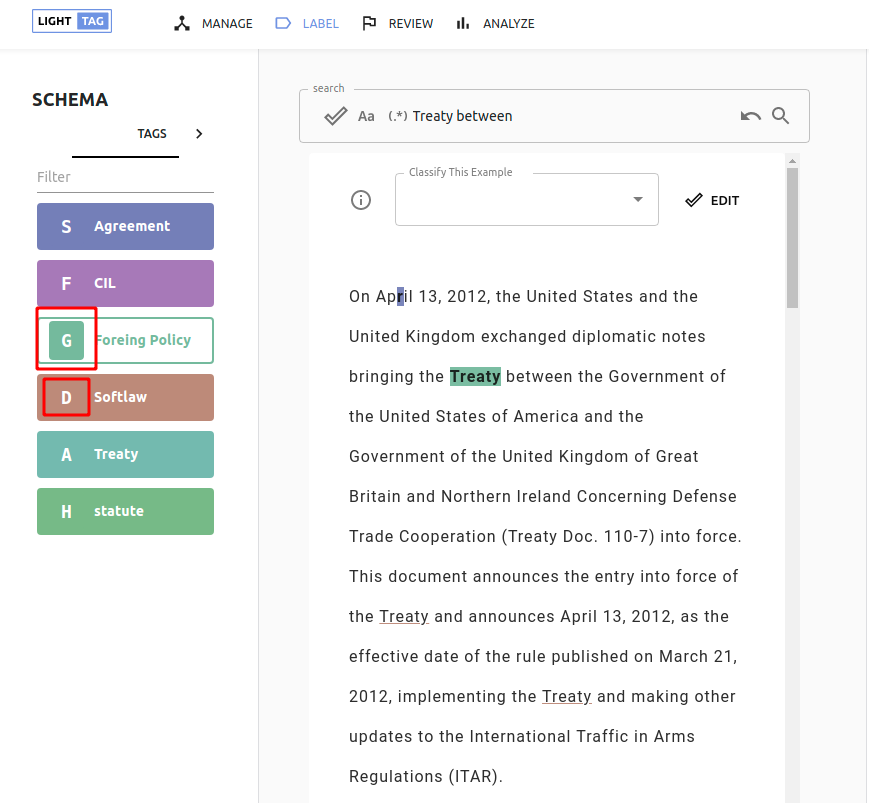
As you'd expect, the annotation screen has the text you need to annotate and the tags you can annotate with (shown in the box below)
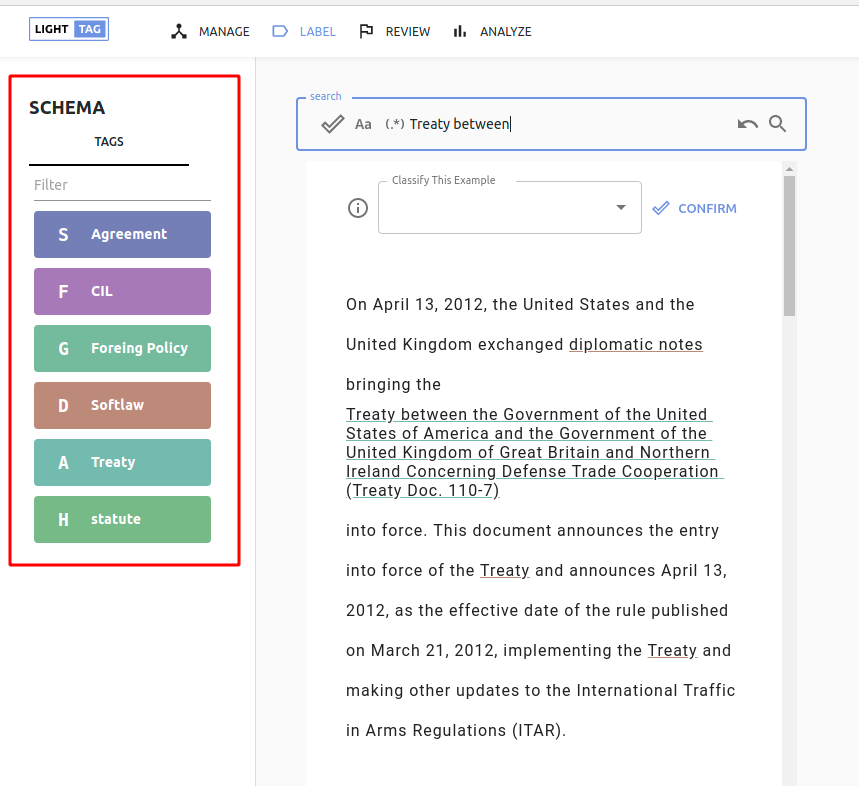
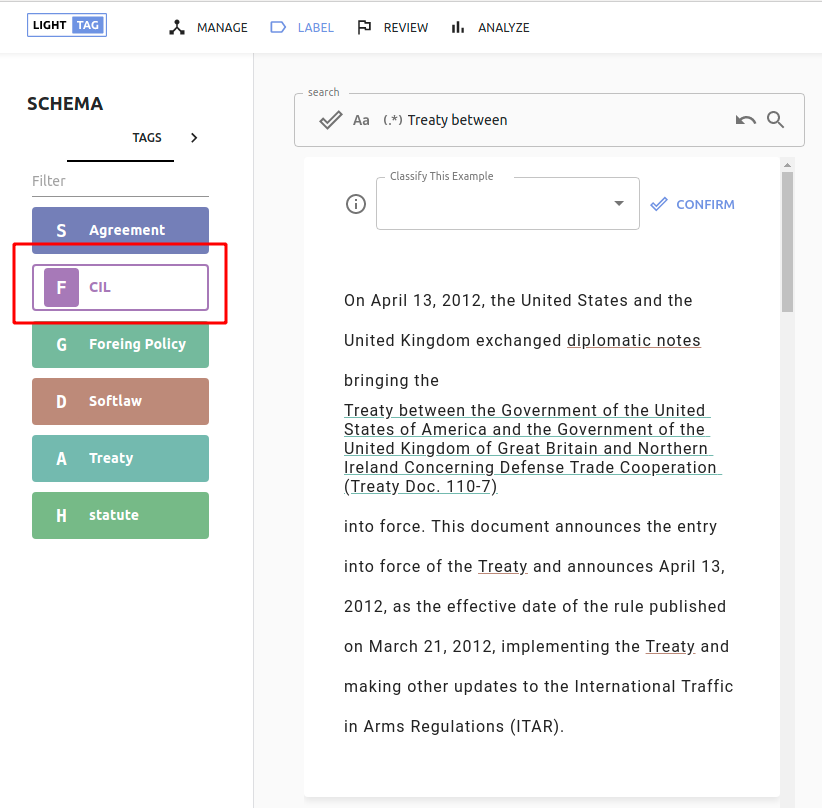
You can select a tag by clicking on it and you'll know it's selected because the style changes
Double click on a word to annotate it. LightTag will figure out where the word starts and end
Click and Drag to annotate a phrase

Change an annotations tag by hovering over it and choosing the correct tag from the menu
Delete an annotation by hovering over it and clicking on the delete button
Annotating With The Keyboard
You can annotate much faster by using the keyboard.
Selecting a Tag with the keyboard
Each tag in the list has it's keyboard shortcut next to it
Selecting Text To Annotate With The Keyboard
Hold down shift and use the arrow keys to select text.
You can hold down shift+ctrl to select entire words at a time.
Press enter to apply the annotation.
Notice that the selection color matches the selected tag
Pre-Annotations and Suggestions
If configured, LightTag will learn from you and provide suggestions. Alternatively, your project manager may have added pre-annotations to help you work faster.
Pre annotations appear as gentle underlines in the text. Hover over them with the mouse to accept or reject them.

Accepting All Pre-Annotations
In normal task mode, the brain icon will light up when pre-annotations are available. Click it to auto accept all of them. Note, this is not available in search tasks